
Smartphones now shoot video that holds up on almost any platform, but the built-in microphone and the lack of steady support still give a lot of footage away. You hear the room echo, you see the frame wobble, and the moment you try to add a small light or a shotgun mic, you realize there is nowhere to put it. Many creators end up taping accessories to a phone case or holding a mic in their free hand, which works until it doesn’t.
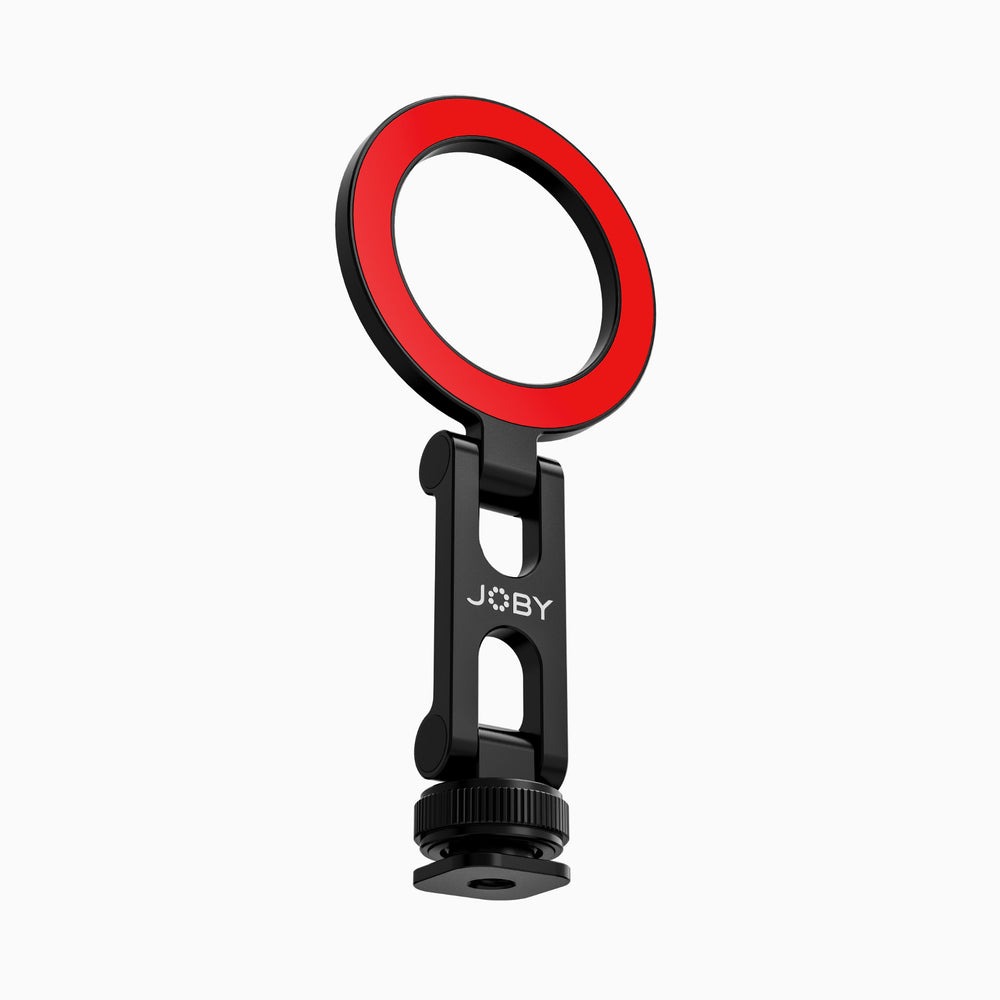
A GripTight Cold Shoe Mount tackles this in a simple way. It clamps your phone firmly and gives you a cold shoe on top, so audio and lighting gear can ride along with the camera instead of fighting it. This guide is written for mobile vloggers, small business owners filming product clips, and anyone recording interviews on a phone. It walks through how the mount works, how to set it up properly, which accessories pair well with it, and the small habits that keep the whole rig dependable from one shoot to the next.
What a Cold Shoe Phone Mount Actually Does
A cold shoe is the small rectangular bracket you have probably seen on top of mirrorless cameras. Unlike a hot shoe, it carries no electrical signal. Its only job is to hold things: compact microphones, LED panels, small monitors, or even a second phone. By putting that bracket on a phone clamp, a GripTight Cold Shoe Mount turns a bare smartphone into something closer to a compact camera rig, where every piece is locked in the same position relative to the lens.
That fixed relationship matters more than it sounds. When a microphone sits on the phone itself, it moves with the camera, so the audio perspective stays consistent as you pan or walk. A light mounted above the lens keeps your subject evenly lit even when you shift angles. You also free up both hands, which makes it far easier to hold a grip steady or adjust settings in the middle of a take.
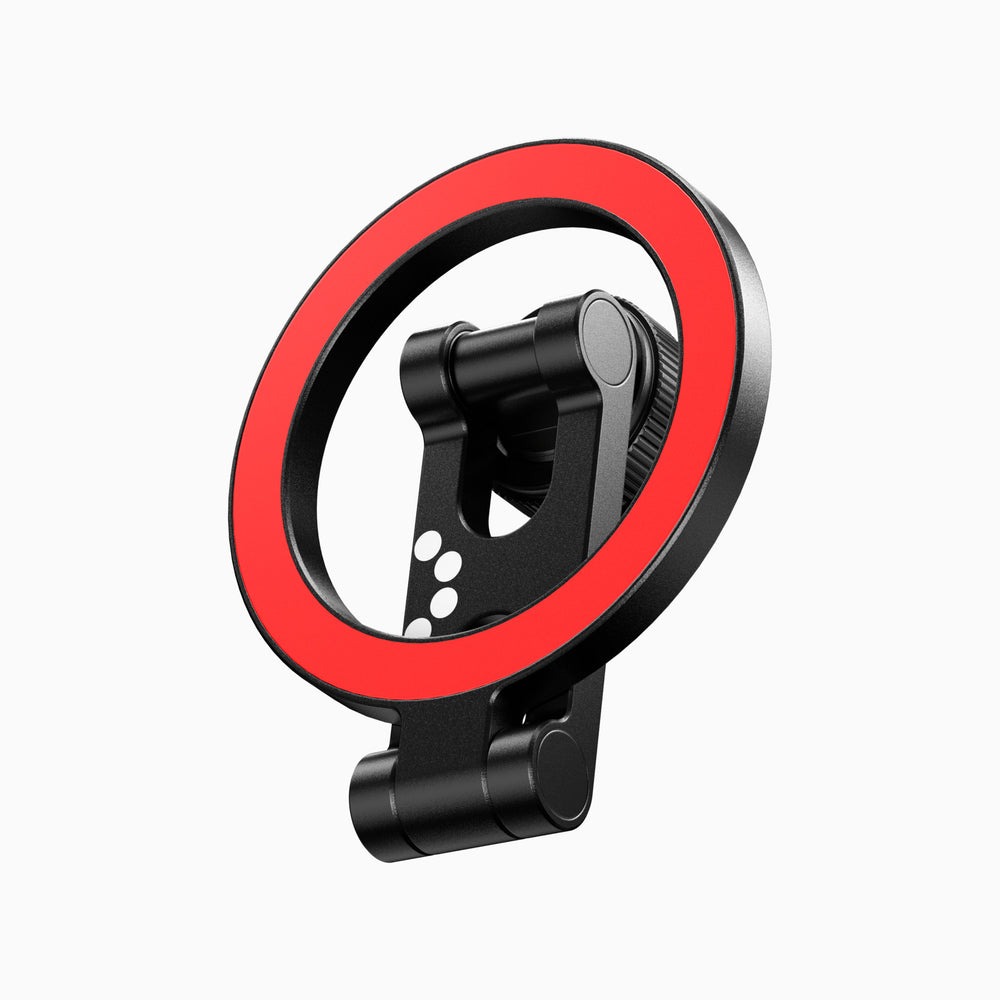
The clamp side is just as important. A spring-loaded grip adapts to different phone widths and holds the device securely, even with many slim cases on. On the underside, a standard tripod thread lets you attach the whole assembly to a tripod, a handheld grip, or a flexible stand, so the mount becomes the central link between your phone and everything else you carry.
Setting Up Your Rig Step by Step
Getting the setup right the first time saves you from surprises halfway through a shoot. The process is quick, but a few details make the difference between a rig that feels solid and one that slowly drifts out of position while you record.
Clamping the Phone Securely
Start by deciding on orientation. Vertical framing suits short-form social content, while horizontal works better for YouTube, interviews, and anything destined for a larger screen. Pull the clamp open, seat the phone so it sits centered, and let the grip close gently rather than snapping it shut. Check that the jaws are not pressing on the side buttons, since an accidental volume press can stop a recording or trigger the shutter at the wrong moment.
Next, give the phone a light wiggle. It should feel firmly held with no rattling. If you use a thick or rugged case, test the fit before heading out, and consider removing the case for long sessions where stability matters most. Finally, make sure the clamp does not block the camera lenses, particularly on phones with large camera bumps that sit close to the edge of the body.
Adding a Microphone or Light
With the phone locked in, slide your accessory into the cold shoe and tighten its locking wheel. This order keeps things tidy and predictable:
- Mount the microphone first, pointing it toward where your subject will be.
- Connect the audio cable and route it along the back of the clamp so it stays out of frame.
- Add a light only if a second mounting point is available, or place it on a separate stand.
- Record a short test clip and play it back with headphones before the real take.
That test clip is worth the extra moment. It tells you whether the mic is picking up handling noise, whether the cable is rubbing against the clamp, and whether the light is creating glare on glasses or glossy surfaces in the scene.
Matching the Mount to Your Shooting Style
The same mount can serve very different kinds of content. How you position it depends on who is in front of the camera and how much you plan to move around while recording.
Solo Vlogging and Talking-Head Content
For vlogging, use the front camera if you need to monitor your framing, or switch to the higher-quality rear camera once you have practiced your positioning. Attach the mount to a short handheld grip or a compact tripod that doubles as a handle. Keep the microphone close to your mouth by holding the rig at chest height rather than at full arm’s length. For sit-down recordings, put the rig on a tabletop tripod at eye level. Eye-level framing feels more natural to viewers and avoids the unflattering upward angle that comes from a phone propped on a desk.
Interviews and Street Recording
When you are recording someone else, the microphone should face your subject, not you. A directional mic on the cold shoe works well for one-on-one conversations in moderately quiet places. On busy streets, move closer rather than turning up the gain, since distance is what lets background noise creep in. If you need to switch between orientations quickly, practice rotating the phone in the clamp at home so you can do it smoothly in the field without fumbling.
Product creators and small shop owners can use the same setup for demo videos. Place the rig on a tripod angled down toward a table, add a small LED on the cold shoe, and you get consistent, softer lighting on every product without building a full studio in the back room.
Live Streaming and Video Calls
The same rig works well for live streams, webinars, and remote meetings recorded on a phone. Mount it on a desk tripod slightly above eye level, add a compact light to the cold shoe to soften shadows, and place a small microphone close enough to catch your voice clearly. Plug the phone into power before going live, and route the charging cable along the tripod leg so it does not tug on the clamp. Viewers notice clear audio and steady framing long before they notice resolution.
Small Habits That Keep the Rig Reliable
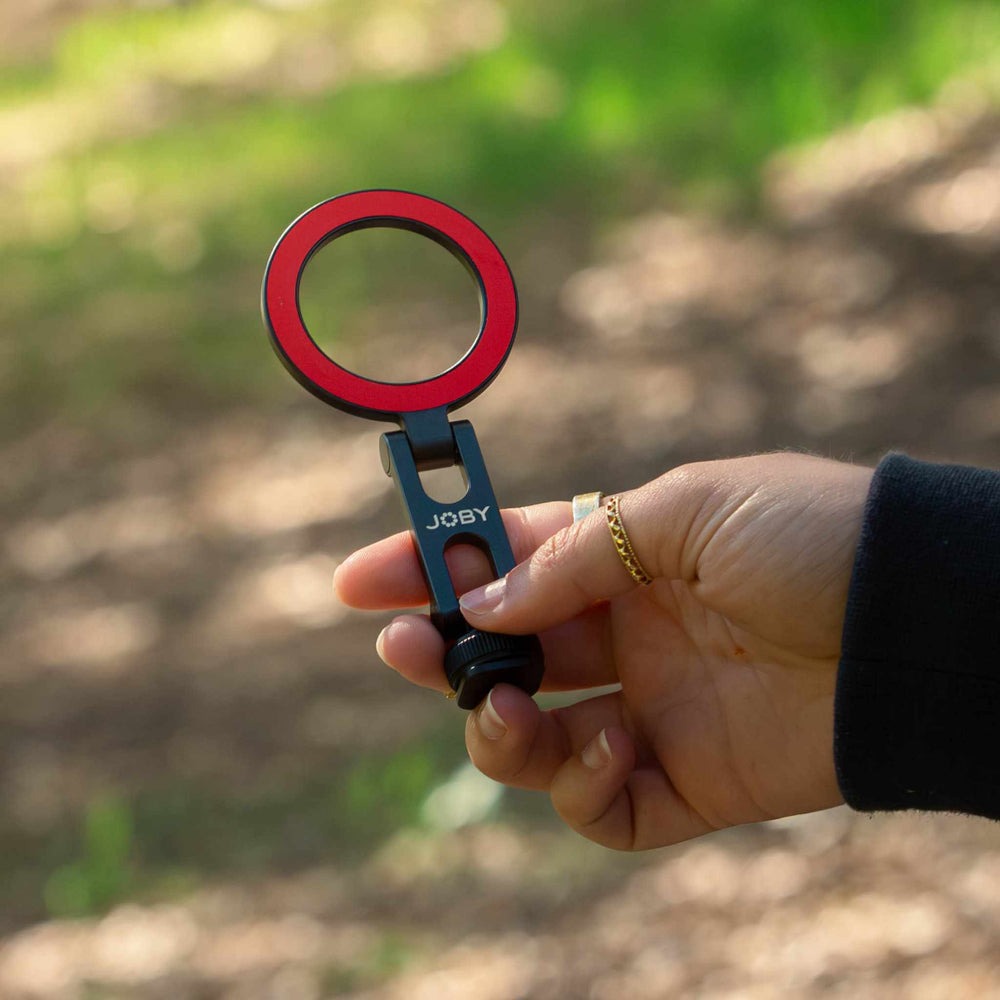
A mount is only as dependable as the way you treat it. Before every shoot, check that the locking wheel on your accessory is snug, because vibration from walking can loosen it over time. After shooting in dusty or sandy places, wipe the clamp jaws and the thread with a dry cloth so grit does not wear down the surfaces or scratch your phone.
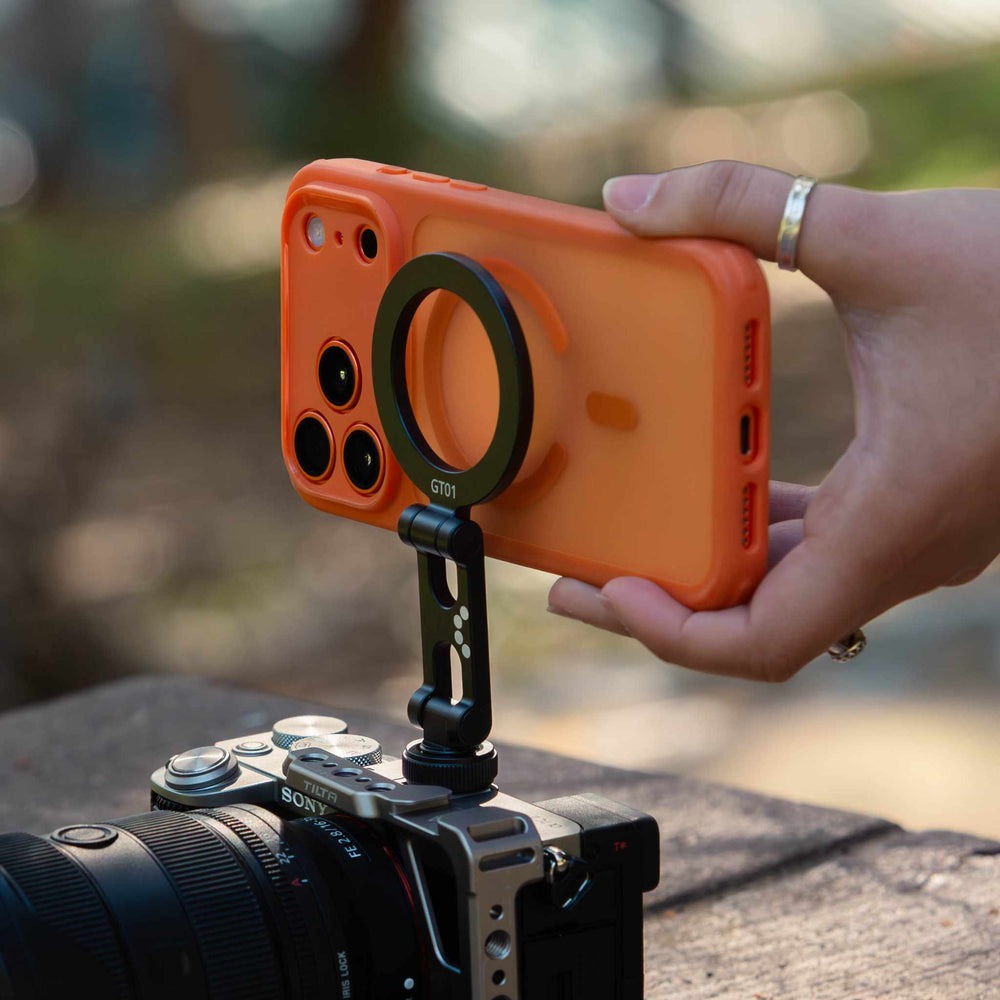
Pack smart as well. Remove accessories from the cold shoe when you put the rig in a bag, since the leverage of a heavy mic pressing on the shoe during transport puts stress where it is not meant to be. Keep a short spare audio cable in your kit, because cables tend to fail long before mounts do.
Finally, think about the whole system. Many creators start with a clamp, then add a flexible tripod, then a light, piece by piece. JOBY designs its mounts, grips, and tripods to connect through standard threads, which makes it easy to grow a rig gradually instead of replacing it every time your content changes direction.
Building a Steadier, Better-Sounding Phone Rig
Good phone video rarely comes down to the phone alone. It comes from giving that phone a stable home and placing your microphone and light where they can do their job. A cold shoe mount does exactly that, turning a loose collection of accessories into a single, predictable rig. Clamp the phone carefully, route cables cleanly, and test your audio before every important take. Adjust your positioning for the kind of content you make, whether that means solo vlogs at eye level, interviews with the mic aimed at your guest, or tabletop product demos lit from above. Build small checks into your routine so nothing loosens or wears out unexpectedly. Once the setup becomes second nature, you will spend less time fixing problems in editing and more time actually creating. Start simple, add pieces as your needs grow, and let your gear support your ideas rather than slow them down.