
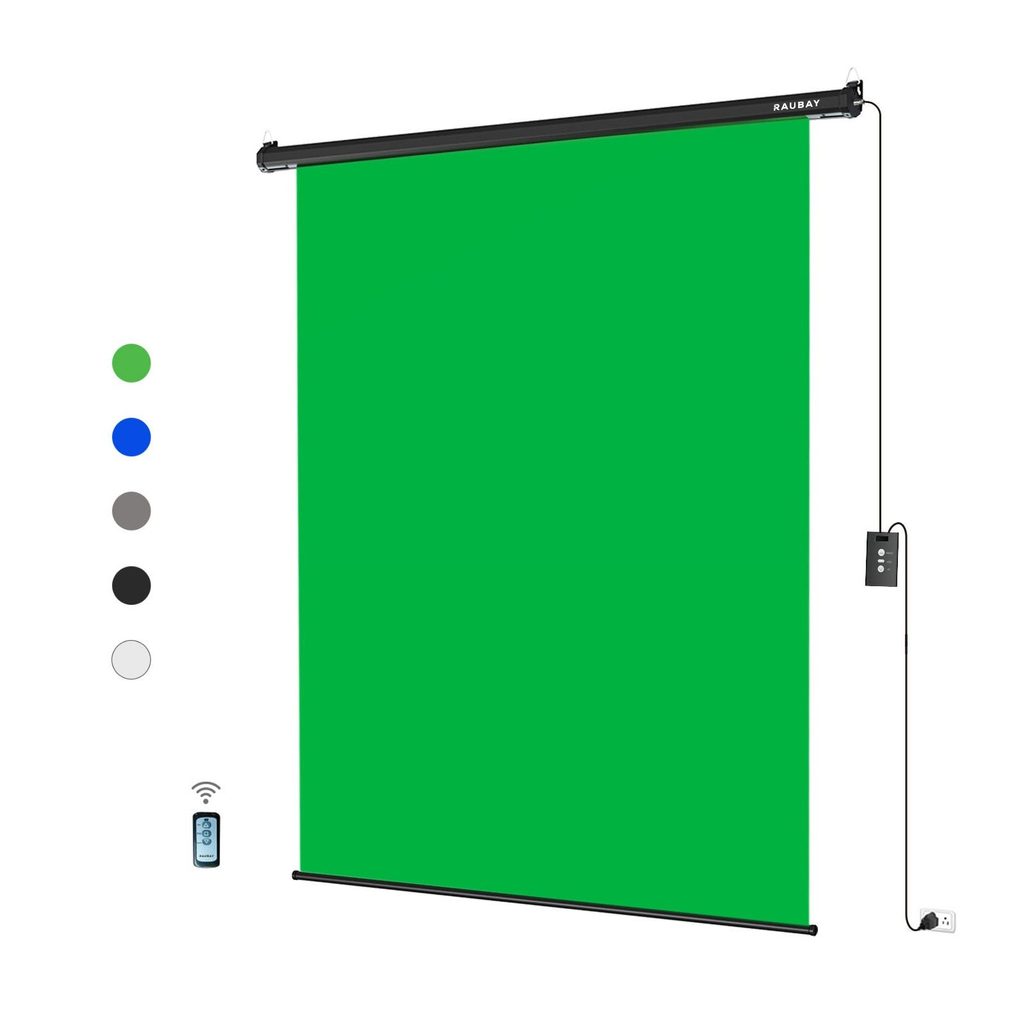
Working in a busy photo studio means every second between setups counts. When you are shooting a family portrait one hour and a corporate headshot the next, wrestling with manual backdrop stands can eat away at your production time and frustrate paying clients. That is why more studio owners are moving toward automated solutions that raise and lower backgrounds with the press of a button. A motorized photography backdrop replaces the tangled cords, wobbly crossbars, and constant lifting of traditional setups with a smooth, controlled system that changes scenes in seconds. Whether you run a small home studio or a full commercial space, the shift toward motorized backgrounds is about reclaiming energy and time so you can focus on the shot itself. This guide breaks down how the technology works, what to look for when choosing a unit, how to install it correctly, and where it fits inside a modern workflow.
Why Studios Are Moving to Motorized Backdrop Systems
Portrait photographers, product shooters, and video creators all share the same pain point: changing backgrounds interrupts creative momentum. A traditional stand requires two people, careful crossbar alignment, and time to swap fabrics. The moment a client walks in, everyone can see the setup instead of the finished environment. A motorized photography backdrop solves this by mounting several rolls on a ceiling or wall bracket and allowing each one to drop on demand. Studios that photograph passport portraits, school pictures, headshots, or product catalogs benefit the most, since these jobs cycle through many looks in a single day.
Time Saved Between Setups
Manual backdrops usually take three to five minutes to swap when you factor in unrolling, clipping, and smoothing wrinkles. A motorized system drops a fresh background in under fifteen seconds. Multiply that across a day of twenty client rotations and you have gained more than an hour of shooting time. That extra window can be used for retouching, additional poses, or simply resetting the room for the next session without rushing.
Cleaner Look for On-Site Clients
Corporate and family clients notice when a studio feels organized. Rolls tucked into a ceiling housing project professionalism, while stacks of stands and clamps signal chaos. A motorized system also removes the risk of a stand tipping over during a session, which protects both talent and camera gear.
Key Features to Look for in a Motorized Pull Down Screen
Not every automated background offers the same reliability. Before ordering, evaluate the motor rating, the roller diameter, the mounting hardware, and the remote system. A quality unit should carry the full weight of long paper rolls or heavy vinyl without stalling, and it should stop cleanly when the fabric reaches its full length. Brands like Raubay design their motors with quiet gearing so the sound does not intrude on video shoots or voice-over recordings.
Motor Strength and Roll Capacity
Studios that mix long paper sweeps with heavier vinyl need a motor that can pull the extra weight without straining. Look for a unit that lists a clear maximum load and consider the number of rolls the housing can hold. Multi-roll systems allow you to preload four or six backgrounds and switch between them instantly.
Remote and App Control Options
Wireless remotes are standard, but newer systems offer app-based control that lets you save preset positions for each roll. This matters for video work where you need to bring the background to a specific height every time. A wall switch adds redundancy in case the remote battery dies mid-shoot.
Installation Steps That Prevent Future Headaches
A motorized backdrop is a permanent fixture, so mounting it correctly the first time saves a lot of rework later. Start by locating the ceiling joists or wall studs with a magnetic detector, then mark bracket positions that align with your shooting zone. The housing should sit far enough from the wall to give the fabric room to hang straight without brushing against paint or trim.
Mapping Your Ceiling Layout
Measure the width of your widest background and add at least eight inches on each side for the housing. Confirm the height of the ceiling matches the drop length of the longest roll you plan to use, then mark drill points using a chalk line so both brackets sit level. Uneven brackets cause the fabric to hang crooked, which shows up in every frame.
Wiring and Power Considerations
Most units run on standard household current, but the outlet needs to be positioned where the power cord will not dangle into the shooting area. Route the cable along the ceiling using clips or conduit, and plan for a dedicated switch near the studio entrance so you can power the system down at the end of the day.
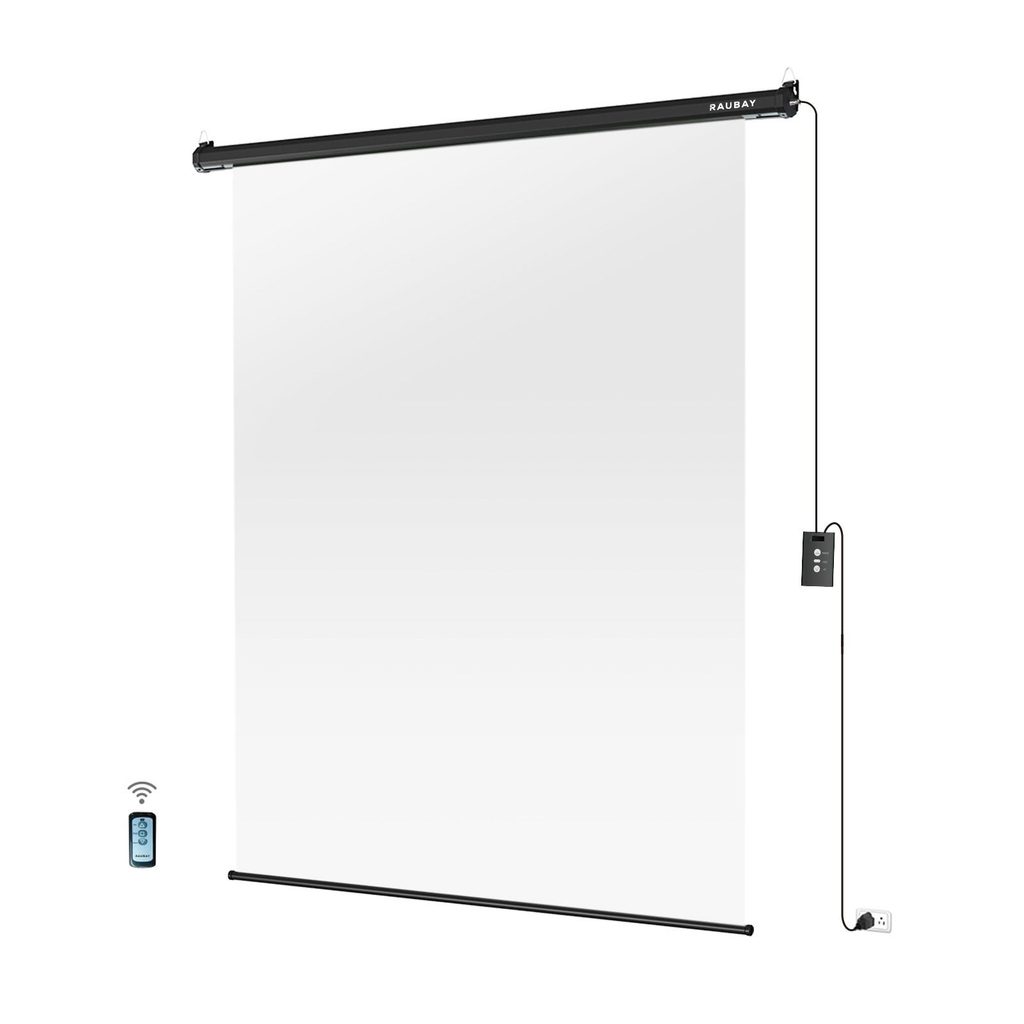
Building a Backdrop Library That Matches Your Shoots
Once the hardware is installed, the next step is curating rolls that cover your regular client work. Neutral gray, white, and black form the base of most portrait studios, while product photographers often add pale blue and warm cream. Video creators may reserve one channel for a green screen so they can drop keyed backgrounds into post-production without swapping fabric mid-session.
Choosing Fabric Types for Different Jobs
Seamless paper works well for portraiture but tears easily and needs regular replacement. Vinyl handles heavier use and wipes clean after messy shoots involving food, water, or paint. Cotton muslin softens light nicely for editorial work but wrinkles when rolled tightly, so it pairs best with steamer maintenance between sessions.
Keeping Rolls in Rotation
Rotate rolls monthly to prevent one from taking on a permanent bend where it sits inside the housing. Number each channel on your remote so team members know which color corresponds to which button, and keep a laminated reference chart near the shooting position.
Bringing Speed and Polish to Every Session
A motorized backdrop system is not just a convenience upgrade, it is a workflow shift that changes how a studio runs from open to close. Once the hardware is installed and the roll library is dialed in, the studio itself becomes faster, quieter, and more welcoming for the people who step in front of the camera. Clients notice the smooth transitions, assistants stop wrestling with stands, and photographers get to spend their attention on lighting, expression, and connection instead of logistics. If you shoot volume portraits, run a busy commercial space, or simply want your studio to feel more like a professional set, investing in an automated background system is one of the clearest upgrades you can make. Plan the layout carefully, pick a unit rated for your workload, and build a fabric library that reflects the work you love to shoot.