You don’t need a $5,000 camera or a lighting truck to post studio-ready shots. What you do need is a tight workflow: one tool to generate on-brand looks from your own photo, one to polish exposure and color, one to fix distractions, and a quick way to output the right sizes for Instagram. Below are the best apps to build that stack, starting with the one that most creators use to transform a single selfie or outfit pic into multiple IG-ready variations.
1) Best Creator — upload yourself, prompt the vibe (top pick)
If you want the “I shot this in a studio” look from a phone pic, start here. You upload your photo and prompt the scene you’re after—editorial backdrop, softbox glamour, minimalist apartment, sunset terrace, seasonal colorway—then refine pose, lighting mood, depth of field, and background cleanliness. It’s purpose-built for creators who need multiple on-brand versions of the same image (covers, carousel frames, story art) without it looking fake or over-processed.
➡ Try Best Creator
Why it feels studio-grade
- Keeps you as the subject while applying consistent lighting and backgrounds.
- Makes it easy to generate a cohesive set (hero + close crop + banner) from one upload.
- Great for Reels covers: you can keep skin tones natural but push the background aesthetic to match your grid.
Best for: influencers who batch content weekly and want a repeatable look.
2) Lightroom Mobile — pro exposure and color (polish)
The industry standard for tone and color. Use it after your base image is generated to dial exposure, whites, and blacks, then fine-tune skin tones using the HSL panel. The Selective and Masking tools let you brighten faces subtly and add vignettes without making it obvious.
Tip: Save presets per aesthetic (Clean, Film, Moody) so your feed stays consistent.
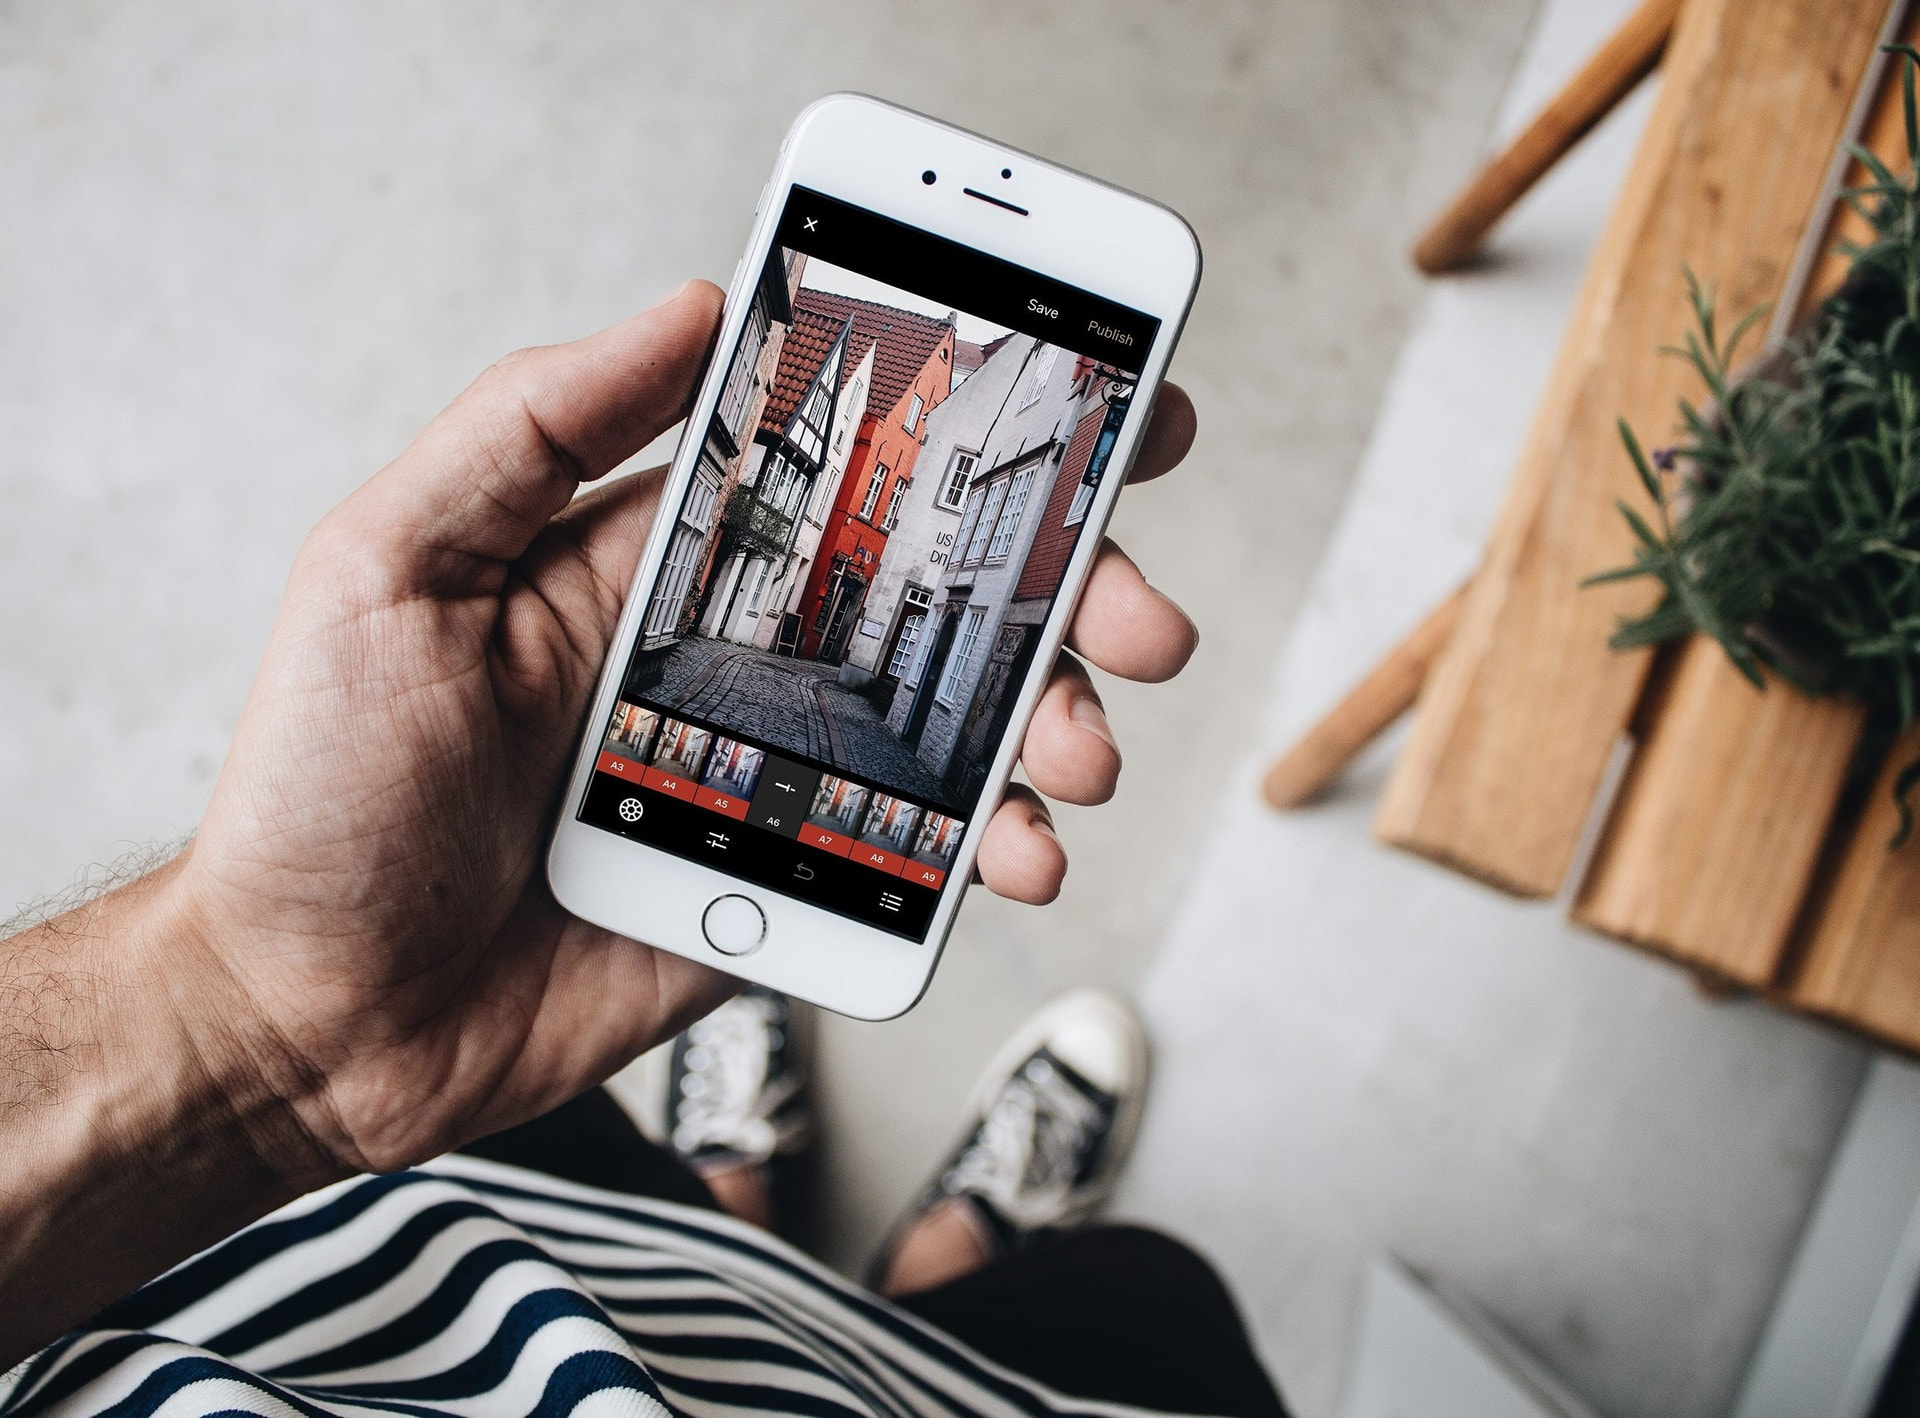
3) VSCO — quick film aesthetics and mood control
When you want emotion and mood more than strict realism, VSCO’s film-inspired presets provide tasteful grain, halation-like glow, and gentle contrast. It’s the fastest way to give carousel frames a cohesive vibe.
Use for: travel sets, lifestyle flat lays, and throwback looks.
4) Snapseed — targeted fixes with healing and structure
A powerful free editor with precise local adjustments. Use Healing to remove small distractions (wall marks, cables), Brush to lift shadows under eyes, and Structure at low values to add clarity to fabrics and hair without crunching skin.
Pro move: Tune Image → Ambience to give interiors a soft, airy feel.
5) TouchRetouch — distraction removal at its best
If a random passerby, stray trash bin, or overhead wire ruins your composition, TouchRetouch cleans it up in seconds. This is the “invisible studio assistant” that keeps frames tidy and professional.
Use for: street portraits, beach scenes, storefront shots.
6) Remini (or similar) — detail rescue when source is soft
When you only have a slightly soft selfie or a compressed screenshot, modern enhancers can recover micro-detail surprisingly well. Use sparingly and review at 100% to avoid plastic-skin artifacts.
Rule: Enhance first, then do color/grade—never the other way around.
7) Lensa — fast portrait shaping and relight
Handy for quick relight passes and subtle portrait refinement. Keep sliders minimal; the goal is studio realism, not an AI mask. Works well for consistent headshots and LinkedIn banners that still match your IG aesthetic.
8) Canva — export sizes, typography, and covers
For layout work (text overlays, frame borders, branded stickers), Canva is the quickest way to assemble Reels covers, story panels, and highlight icons that match your palette. Export to exact IG sizes to keep sharpness.
Template tip: Build a 3-cover pack (bright, neutral, dark) so any post can slot into your grid.
A 10-minute “studio” workflow (repeatable)
- Capture: natural window light, clean background, lens wiped; shoot 12–20 frames with small pose changes.
- Generate base look: upload best shot to Best Creator, prompt your scene (e.g., “editorial softbox, matte backdrop, subtle rim-light”), produce a small set (hero, close crop, banner).
- Polish (Lightroom Mobile): adjust exposure (+0.2 to +0.5), highlights (−15 to −30), shadows (+10 to +20), white balance to taste; refine skin with HSL.
- Clean (TouchRetouch/Snapseed): remove distractions, straighten lines, and add a light vignette.
- Mood (VSCO optional): apply a light film preset; keep grain low for a studio feel.
- Layout & export (Canva): create Reels cover and story variants; export at platform-native sizes for maximum crispness.
- Consistency check: compare against your grid—if it clashes, nudge hue or contrast until it “belongs.”
Common mistakes that break the studio illusion (and how to avoid them)
- Mixed color temperatures: If daylight is on, turn off warm indoor bulbs. Mismatched light = muddy skin.
- Over-smoothing skin: Let pores live. Reduce clarity only slightly and never blur the entire face.
- Harsh halos and fake shadows: Keep edge lighting subtle; shadows should fall logically from the apparent light source.
- Over-sharpening for IG: Instagram recompresses your files—oversharpening creates halos. Export crisp, not crunchy.
- Ignoring background geometry: Crooked doorframes or tilted horizons look amateur. Straighten before posting.
Final take
Studio-quality Instagram images are less about one magic app and more about a stack that respects realism: generate a clean, consistent base with Best Creator, polish tone and color professionally, remove distractions, add a coherent mood, and export to platform-native sizes. Build presets, save your favorite prompts, and stick to a limited color story for the month. Do that, and your feed will look like you booked a studio—even when you shot it at home.
