
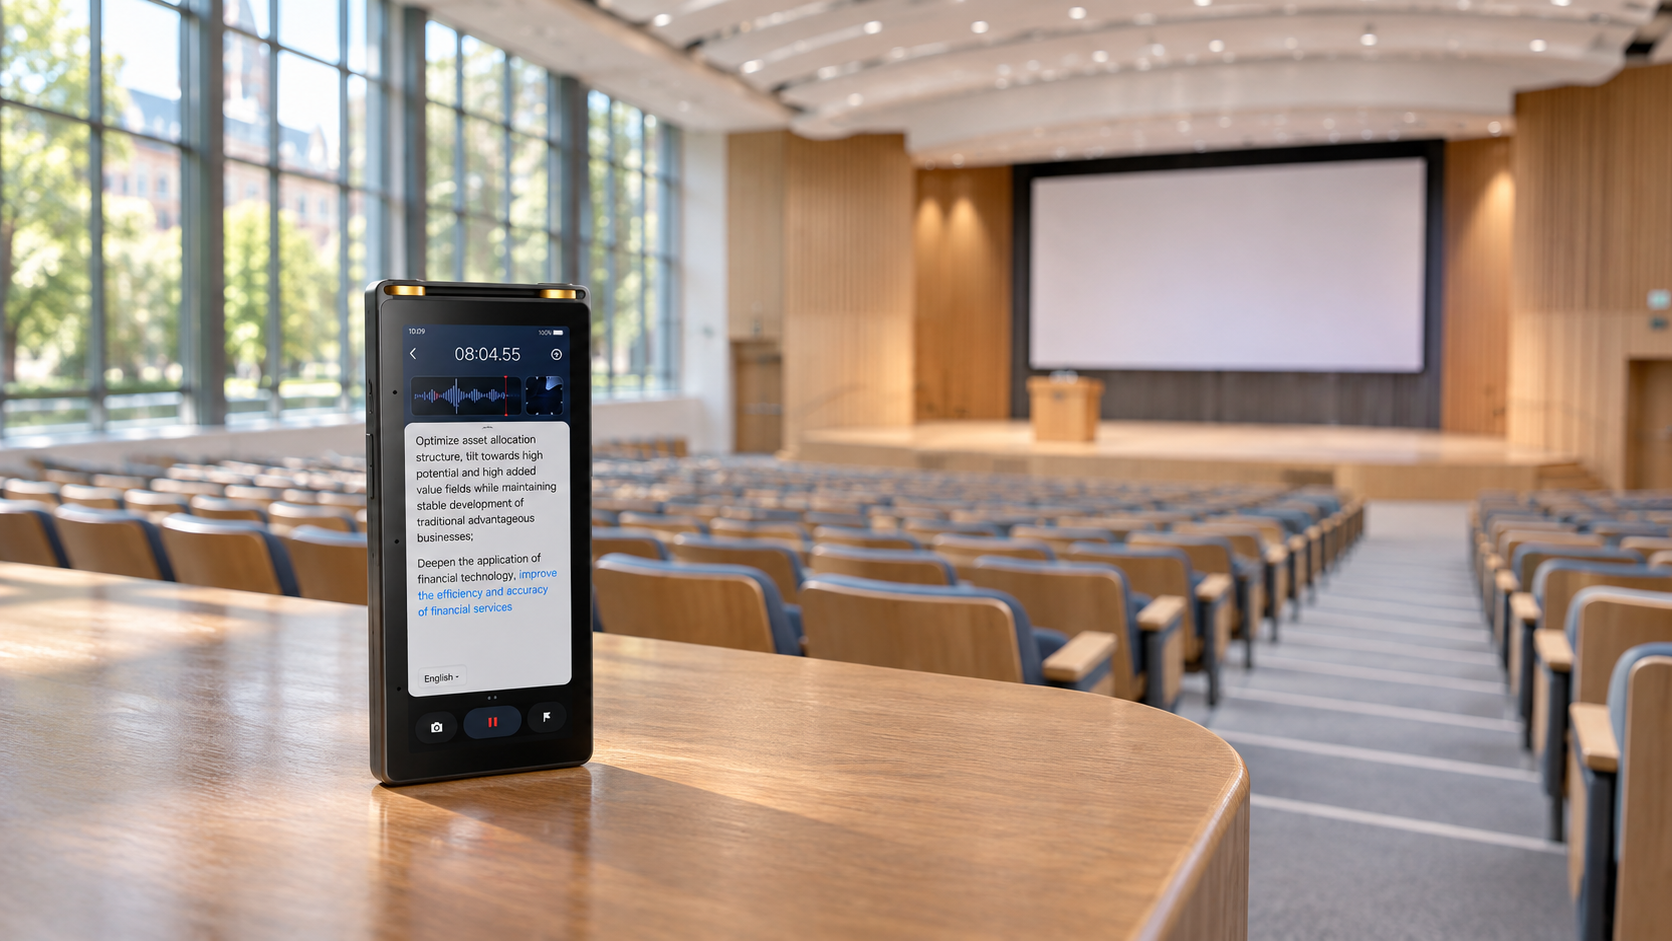
A large room changes the way recording works. The presenter may sound perfectly clear to someone sitting in the front row, while a recorder near the back captures a distant voice mixed with ventilation noise, chair movement, and whispered conversations.
Turning up the recording level rarely solves the problem. It raises the background noise along with the speaker. Clearer audio usually comes from placing the microphone closer to the main voice, understanding how sound moves through the room, and preparing for moments when people speak from different locations.
Walk Through the Room Before People Arrive
An empty conference room can be misleading. Once attendees enter, they open laptops, move chairs, pour drinks, and talk to one another. A lecture hall may also have projector fans, ceiling ventilation, and an audio system that produces a low hum.
Stand in several parts of the room and listen. Pay attention to steady sounds as well as noises likely to occur during the event. A recorder placed near an air vent may capture a constant rush that becomes tiring during playback. A table beside the entrance will pick up every late arrival.
Hard walls, glass, and high ceilings create reflections. The speaker’s voice reaches the microphone directly, then arrives again from several surfaces. This produces the hollow sound common in large meeting rooms.
Microphone placement cannot remove every reflection, but reducing the distance to the speaker gives the direct voice a better chance of standing above the room sound.
Place the Recorder for the Main Speaker
For a lecture, the best position is usually near the presenter rather than near the listener. Ask whether the recorder can sit on the lectern, a nearby table, or another stable surface at the front of the room.
A professional meeting recorder should be positioned according to who needs to be captured, not simply where the operator happens to sit. If one person will deliver most of the session, prioritize that voice. Audience questions can be handled separately.
Avoid placing the device directly beside a laptop, projector, portable fan, or loudspeaker. A loudspeaker may seem like an obvious source, but recording too close to it can produce harsh or distorted audio. Moving a short distance away often gives a more balanced result.
On a conference table, place the recorder in an open area. Papers, laptop screens, bottles, and bags can block sound. Set it on a small soft pad if people are likely to tap the table or move objects nearby.
Use the Room’s Audio System When Available
Many conference rooms and lecture halls already use microphones. The presenter may wear a lapel microphone, speak into a podium microphone, or use a handheld unit.
Ask the venue team whether a recording output is available. A direct feed from the room system can capture the main speaker more clearly than a recorder placed among the audience. It may require an appropriate cable, adapter, or approval from the technician.
Do not rely on the direct feed alone without testing it. The connection may send only the presenter’s microphone and exclude audience questions. It may also use a level that does not match the recording input.
A practical arrangement is to capture the room feed on one channel or device and keep a separate room recording as a backup. The room recording preserves applause, questions, and discussion that may not pass through the main sound system.
When no direct feed is available, staying physically close to the presenter becomes even more important.
Treat Audience Questions as a Separate Problem
A microphone at the front of the room can record the lecturer well but struggle with someone asking a question from the back row. Raising the input level will also raise coughing, typing, and room noise.
If questions are important, ask participants to use the room microphone. At smaller events, the presenter can repeat each question before answering:
“The question is whether the new policy applies to contractors.”
That single sentence makes the recording understandable and helps attendees who could not hear the original speaker.
For workshops with frequent discussion, a second recorder may be placed closer to the audience. It should complement the main recording rather than replace it. During editing or review, the two files can be used to confirm sections that are unclear on one source.
Group meetings around a long table present a similar challenge. One recorder in the center may be sufficient for a small, quiet group, but a large table can create a wide difference between the nearest and farthest voices. Encourage participants to speak toward the table rather than turning away while talking.
Run a Realistic Sound Check
A test should reproduce the actual event as closely as possible. Recording someone speaking quietly beside the device does not show how the lecturer will sound from several meters away.
Ask the presenter to speak from their planned position at a normal volume. Record a short sample while the projector and ventilation are running. If audience microphones will be used, test those too.
Listen through headphones. Device speakers may hide low-level noise and make speech sound clearer than it really is.
Check for four common problems:
- The speaker sounds distant or hollow.
- Loud words become rough or distorted.
- A steady mechanical sound competes with the voice.
- Table movement creates heavy bumps in the recording.
Adjust the position first. Change the recording mode or input setting only after the physical setup is as good as it can be.
Do Not Let Automatic Settings Make Every Decision
Automatic recording levels are convenient when speakers vary in volume. They can also create strange results. During a pause, the recorder may raise its sensitivity and make ventilation or audience noise suddenly louder. When the presenter begins speaking again, the first few words may sound too strong before the level adjusts.
Manual control provides more consistency when the speaker remains in one position and uses a fairly stable voice. Leave enough headroom for laughter, applause, or sudden emphasis.
If the device offers recording modes for meetings, lectures, or interviews, treat those settings as starting points. The shape and noise level of the room still matter more than the mode name.
A quick test recording will reveal whether the selected setting suits the actual distance and volume.
Keep Notes Connected to the Recording
A two-hour file is difficult to review without markers. Written notes make it possible to locate the important parts without replaying the entire session.
A lightweight meeting note tablet can be used to capture slide titles, decisions, unfamiliar terms, and timestamps while the audio continues. This is particularly useful during lectures where only a few sections will matter later.
Notes do not need to repeat the speaker word for word. Record what the audio cannot explain on its own:
- The title of a slide
- A diagram shown on screen
- A speaker’s gesture toward a specific chart
- The spelling of a person’s name
- A timestamp for an important explanation
- An action assigned during the discussion
When the presentation moves to a new topic, add a heading and note the approximate time. These markers make later transcription and summarization much faster.
Monitor Without Hovering Over the Equipment
Once the event begins, avoid repeatedly touching or moving the recorder. Handling noise can cover the very speech you are trying to capture.
Check the timer and recording indicator during natural pauses. If headphones allow monitoring without disturbing others, listen briefly to confirm that the signal remains clear.
Keep phones away from the recording device when possible. Notifications, vibration, and wireless interference can create unwanted sounds. Put nearby devices on silent and disable alarms before the session.
Battery and storage should be checked before the room fills. For longer events, confirm whether the recorder can continue while connected to power and whether the cable can be placed without creating a trip hazard.
Create a Backup for Important Events
A backup does not have to duplicate the exact position of the main recorder. In fact, placing it elsewhere can protect against different problems.
If the main device receives a direct audio feed, let the backup capture the room. If the main recorder sits near the presenter, place the backup closer to the audience. Should one file contain distortion, a cable problem, or a blocked microphone, the other may preserve the missing section.
Start both recordings before the formal introduction. A clear hand clap near the beginning creates a visible and audible point that can help align the files later.
Do not stop a recorder during short breaks unless privacy or event rules require it. Multiple short files are easier to lose, mislabel, or arrange in the wrong order.
Review the Audio Before Leaving
Play several short sections while the room setup is still available. Check the opening, a middle section, an audience question, and the final minutes.
If a serious problem occurred, the presenter may be able to repeat a short conclusion or clarify a key answer before leaving. Once the equipment has been packed and everyone has gone, that option disappears.
Rename the files immediately with the event, speaker, date, and recording position. “Conference_Keynote_MainFeed” and “Conference_Keynote_RoomBackup” are more useful than two files called “REC001.”
Clear audio in a large room rarely comes from one perfect setting. It comes from getting close to the main voice, accounting for the audience, testing under real conditions, and leaving enough information to find the important moments afterward.