
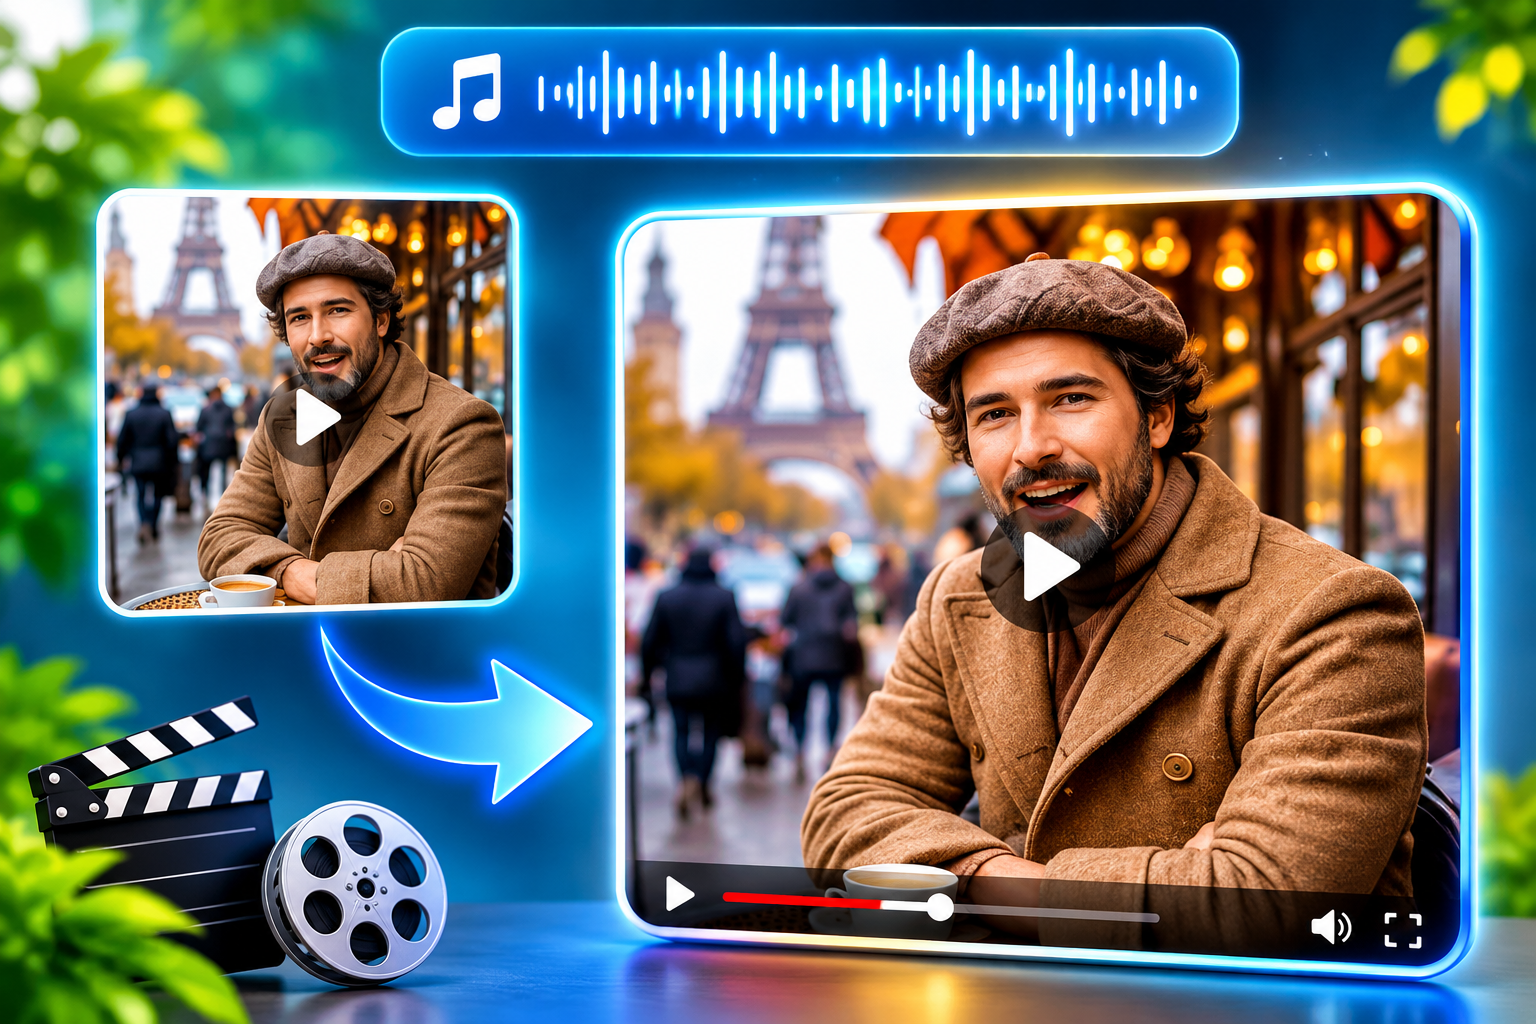
A talking character can look convincing until the first sentence begins. The voice sounds clear, but the mouth closes too late. A smile disappears halfway through a word. The face looks slightly different after a pause. These small inconsistencies can draw more attention than the message itself.
That makes character lip sync a useful test of any AI video workflow. The goal is believable speech that preserves the character’s appearance and fits the scene.
Motion Control AI’s AI Lip Sync Generator offers two starting points: an existing video with replacement speech audio, or a still character image animated through audio or a written script. Choosing between them is the first practical decision.
The next step is understanding what to inspect. Five common scenarios provide a useful framework for judging whether an output is ready to publish or needs another attempt.
A Review Framework Based on Timing and Character Consistency
A convincing talking character needs more than a moving mouth. Speech, expression, and appearance need to work together throughout the clip.
Start with three questions. Does the mouth follow the recording? Does the character remain visually consistent? Do the movements suit the delivery?
Watch the video once at normal speed before inspecting individual moments. Normal playback reveals whether the performance feels believable. A closer review helps locate the source of any distraction.
Pay particular attention to sentence beginnings, brief pauses, and the final word. These moments make it easier to notice a mouth that starts moving early, continues after the voice stops, or settles into an unfamiliar expression.
Use a short sample before committing to a longer production. A single complete sentence can reveal whether the source material is suitable.
Scenario One: An Existing Presenter Video with New Dialogue
An existing presenter clip is a straightforward place to begin. The framing and performance are already established, so the main question is how convincingly the visible mouth movement follows the replacement recording.
Use the PixVerse Lip Sync workflow for this input combination. Choose footage with a clearly visible mouth, limited obstruction, and a face large enough to inspect comfortably.
For an initial sample, keep the new dialogue close to the original scene’s pace. A calm presenter introducing a service is a more manageable starting point than footage containing rapid turns, exaggerated laughter, or frequent cuts.
What Deserves a Closer Look
Watch words beginning with “p,” “b,” and “m,” which provide useful opportunities to inspect lip closure. Then check whether the mouth relaxes during silence.
Also compare the face before and after the sentence. Good timing has limited value if the jawline or smile becomes distracting. Review the whole face alongside the mouth.
This scenario suits revised introductions, updated explanations, and alternate versions of a presenter’s message.
Scenario Two: A Flat Illustration or Cartoon Portrait
An illustrated character creates a different challenge. Viewers may accept simplified movement, but they can still notice when the animation no longer matches the drawing.
For a still image, switch to P Video Avatar and supply a script or uploaded speech. Begin with a clear portrait whose mouth and eyes are easy to identify.
A simple mascot introduction is a useful first exercise. One character, one sentence, and an uncluttered composition keep the review focused.
Preserve the Drawing’s Visual Language
Inspect the shape of the mouth when the character stops speaking. Does it return to a position that fits the original illustration? Do the outlines around the cheeks and chin remain coherent?
A cartoon does not need realistic teeth or highly detailed lips to communicate effectively. Added detail can become distracting when it conflicts with the artwork.
Judge the result against the character’s intended style. A restrained performance may work better for a clean brand mascot than a highly expressive one.
Scenario Three: A 3D Avatar Delivering a Product Introduction
A polished 3D avatar can make a short product message feel consistent across a campaign. It also gives viewers several features to compare: facial proportions, lighting, expression, and mouth movement.
Choose the workflow according to the source. An existing avatar video belongs in the video path; a single rendered portrait belongs in the image path.
Keep the first script focused on one idea. A sentence describing the product’s main benefit is easier to assess than a paragraph containing several claims and technical terms.
Match the Delivery to the Character
Listen to the recording before generating. Consider whether its pace and emotional tone fit the avatar’s visible expression.
A cheerful sales delivery may feel awkward beside a stern portrait. Similarly, a relaxed voice may not suit a character captured in an intense pose.
After generation, check whether the face remains recognizable through wider mouth openings. The useful question is whether the avatar can deliver the message while retaining the appearance that makes it valuable to the brand.
Scenario Four: Localizing an Existing Character Video
Localization involves more than replacing words. A translated sentence may take longer to say, place emphasis elsewhere, or introduce pauses that differ from the original performance.
The existing-video workflow accepts replacement speech audio, making it a relevant option for preparing another dialogue version of suitable footage. Prepare and review the translated recording before uploading it.
Read the translation aloud during editing. A sentence that looks concise on the page can become crowded when spoken naturally.
Review the Ending as Carefully as the Beginning
Check whether the final phrase feels comfortable within the scene. Listen for rushed delivery, awkward pauses, and pronunciation that needs correction.
Then watch the full video with sound. A close inspection of mouth movement cannot tell you whether the translated message feels natural to its audience.
For a useful comparison, keep the source footage unchanged while revising the recording. This makes it easier to judge how script length and delivery affect the finished clip.
Scenario Five: A Character Paired with Difficult Audio
A visually strong portrait can still be a poor starting combination when the speech track contains loud music, room noise, or overlapping voices.
The tool’s guidance recommends clear speech with minimal background interference. Treat that as part of preparation.
Start with one speaker and a short, clearly delivered line. If the available recording is difficult to understand, address the recording before judging the generated mouth movement.
Change One Input at a Time
If timing looks loose, compare a cleaner speech track using the same visual source. If the face changes too much, try a sharper, more front-facing source while keeping the audio consistent.
Changing both inputs together makes the result harder to interpret.
Avoid beginning with your most demanding material. Establish a usable result with a simple combination, then introduce a more expressive delivery or challenging visual. That gives you a clearer sense of which change needs attention.
A Practical Workflow from Upload to Review
Begin by identifying the asset you already have. Select PixVerse Lip Sync for existing footage and replacement audio. Select P Video Avatar for a still portrait driven by uploaded speech or a written script.
Next, prepare the speech. Remove unnecessary wording, check pronunciation, and leave natural pauses. In the photo workflow, a generated voice is an option when you are starting from text.
Generate a short sample and review it in two passes. First, watch normally and listen to the message. Then inspect the mouth, face, and pauses more closely.
If the result needs work, make one deliberate adjustment. Replace a difficult source image, simplify the sentence, or improve the recording. Keep the other inputs steady so the next output provides useful information.
Finally, inspect the downloaded MP4 in the context where it will appear. A clip that works in isolation may need a different opening, crop, or pacing when placed inside a larger edit.
Where This Approach Is Most Useful
Short character introductions, educational explainers, mascot messages, and alternate dialogue versions are sensible places to explore this workflow. Each gives the character a focused speaking task and makes the result relatively easy to review.
More demanding footage deserves closer inspection. Obscured mouths, strong head turns, unclear speech, and highly stylized facial designs can make evaluation harder. A successful sample with one character should not be treated as a guarantee for every source.
For projects requiring precise performance direction, generated lip sync can also serve as a draft for further editing.
The most useful outcome is a character that delivers its line clearly and remains recognizable from beginning to end. Start with suitable material, keep the first sentence manageable, and judge the finished performance as carefully as the synchronization.